Where are you shopping for today?
Delivery State:
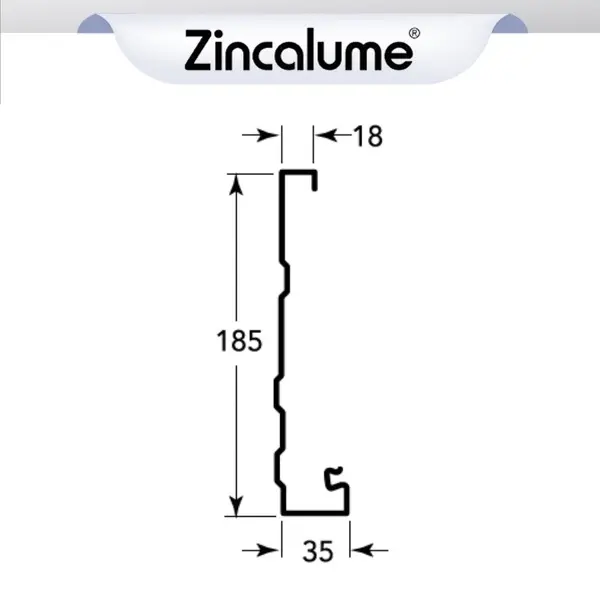
ZINCALUME® Fascia – Strong, Sleek & Built to Last
ZINCALUME® fascia is made from genuine BlueScope steel, lightweight and corrosion resistant. Perfect for roofing, sheds, garages and carports, it creates a clean modern roofline that’s easy to install and maintain.
Key Features
- Decades of corrosion resistance
- Lightweight and easy to handle
- Metallic finish suits modern homes
- Minimal maintenance – just hose down occasionally to keep it looking sharp
- Backed by BlueScope® steel warranty
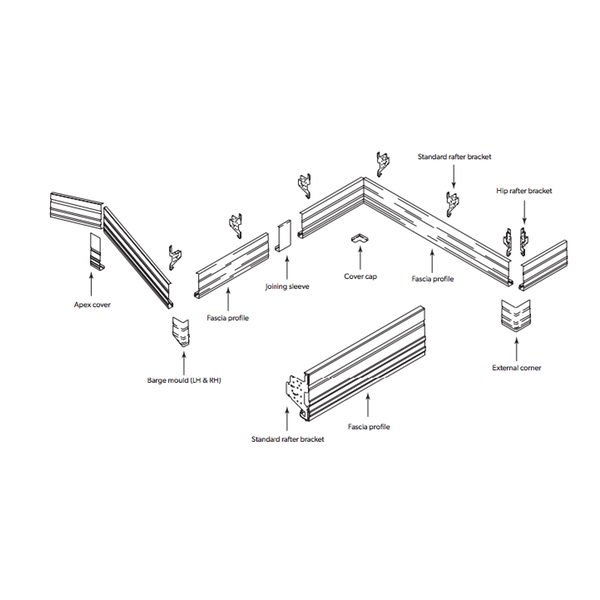
Installation Guidelines
Support spacing: 1200mm for steel sheet roofing and 600mm for tile roofing. Do not use fascia as an end span support.
Fixings: Use at least 2 screws per slot (Hex Head or Type 17 screws).
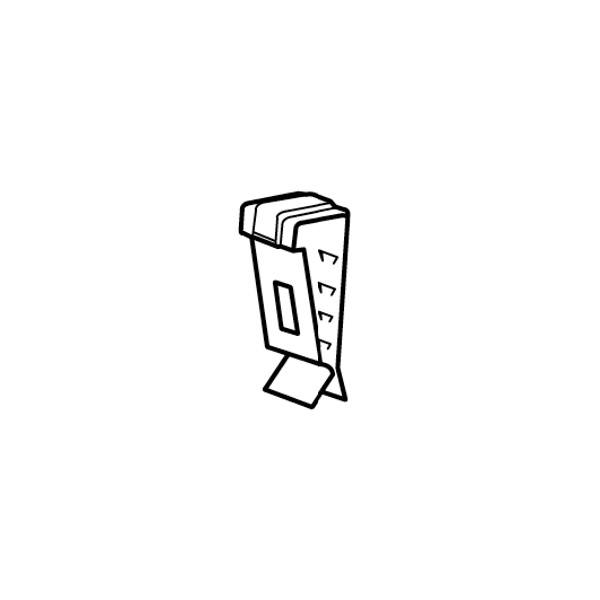
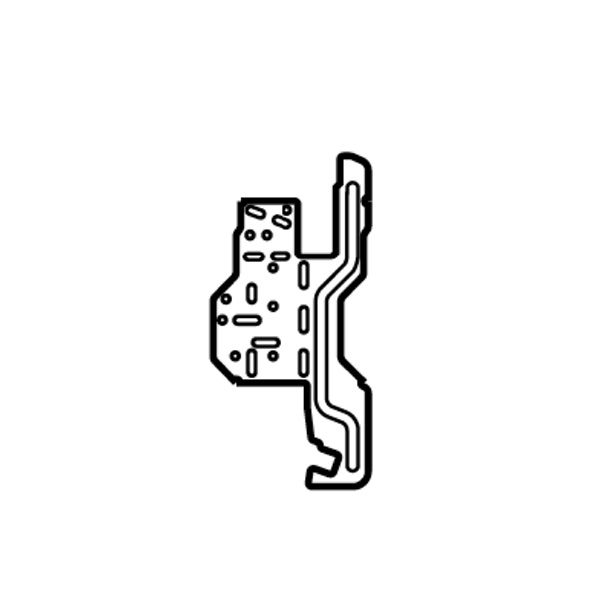
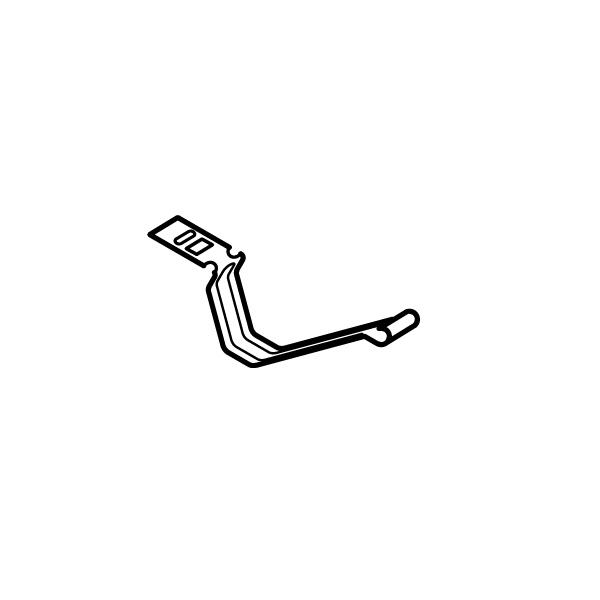
- Attach rafter clips to each end and run a string line for alignment.
- Attach fascia horizontally under clips, then flip it forward.
- Slide fascia into position and secure brackets to rafters.
- Ensure fascia is level across the house and install spring clips to create the correct fall for the gutter.
Frequently Asked Questions
What are the downsides of ZINCALUME®?
ZINCALUME® has a metallic finish only – it doesn’t come in colours like COLORBOND®. In coastal areas with heavy salt spray, COLORBOND® Ultra may be recommended instead.
Is ZINCALUME® better than COLORBOND®?
ZINCALUME® is durable and more affordable. COLORBOND® has the same steel base with an added painted finish, giving you colour choice and extra surface protection. It’s up to you whether you like the raw metallic look or coloured fascia.
What’s the best material to replace fascia?
Steel fascia (ZINCALUME® or COLORBOND®) is better than timber or PVC as it resists warping, rotting and termites and gives a modern finish.
Is ZINCALUME® waterproof?
Yes, ZINCALUME® is water penetration and corrosion resistant, perfect for fascias exposed to rain and humidity.
Why Buy from Metal Roofing Online?
- Custom cut to your required length
- Fast delivery across VIC, NSW, QLD & TAS (2–7 business days)
- 4.8/5 star rating from 57 customer reviews
- 100% genuine BlueScope® ZINCALUME® steel
Choose your length above and order online today.